
Journey 04 / 04
Invoice & get paid
Send a clear invoice, let the customer pay you directly, and record money only after it arrives.
Keep this guide nearby, then switch back to JobSmart to follow the steps.
Payment methods
Set up receiving details.
Add the details customers should use to pay you. JobSmart does not log in to your bank or process the payment.
Choose a supported receiving method
Open Payment methods and choose a destination supported by the app. Recommendations use your business address country and the invoice currency.
Enter and check your own details
Enter the receiving details requested for that method. Check the recipient and destination carefully, enable the method and choose the default for invoice PDFs where offered.
Review the sample
Use the available sample preview to check what customers will see. Confirm the method and invoice currency are compatible before requesting payment.
More → Invoice templates → Payment methods
Which QR or payment link should I use?
SEPA/EPC amount requests are for EUR and UPI amount requests are for INR. Other supported provider links follow the compatibility rules shown by the app; not every bank, method or currency supports the same QR. Cash or card receipt recording is separate from configuring a QR receiving destination.
You can set this up before your first job. The screenshots here contain no real bank details or payable QR codes.
Work & invoice
Create and review the invoice.
Keep the visit, work record, and invoice connected. Review what you send before it reaches your customer.
Generate the invoice
After completing a job, choose Create invoice now. To do it later, open the job from Ready to invoice and choose Generate Invoice.
Preview the details
Check the customer, line items, amount, currency, reference and receiving details in the PDF. Fix anything that is incorrect before sharing.
Share when ready
Use the app’s sharing or sending action after reviewing the recipient. Find the invoice again under Invoices.
Jobs → your completed job → Generate Invoice
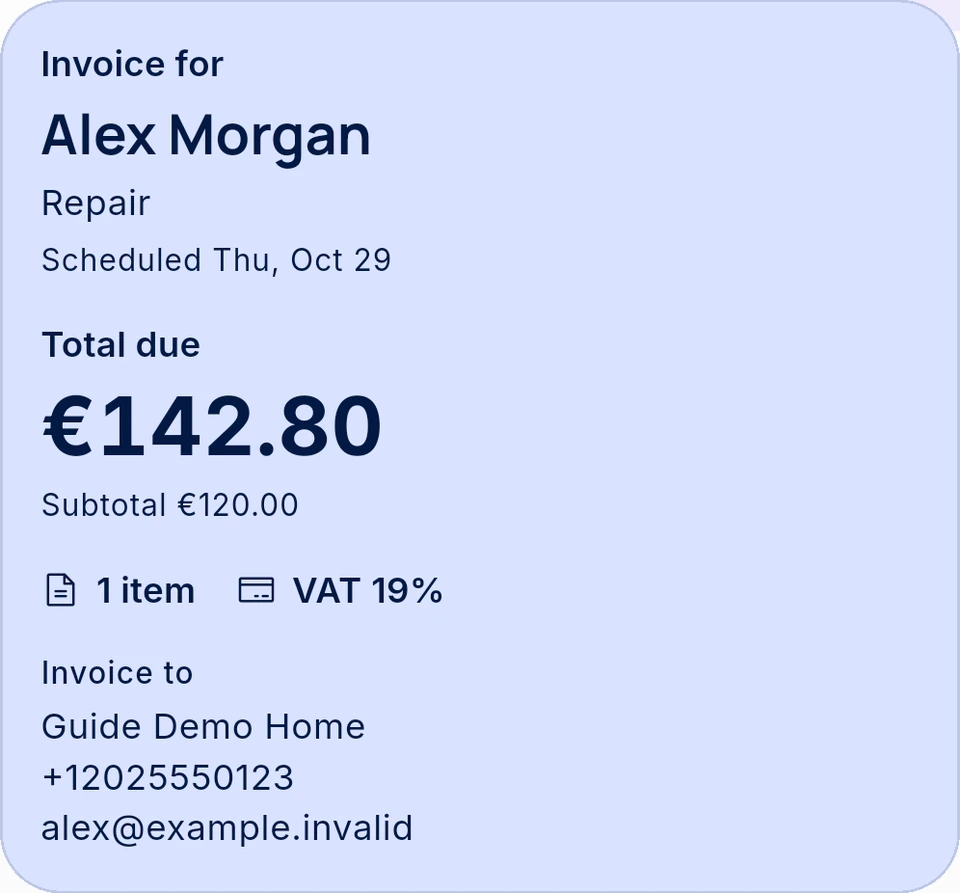 Real JobSmart screen · sanitized
Review the total and recipient before creating the PDF.
- Review details
- Total and tax
- Create PDFs
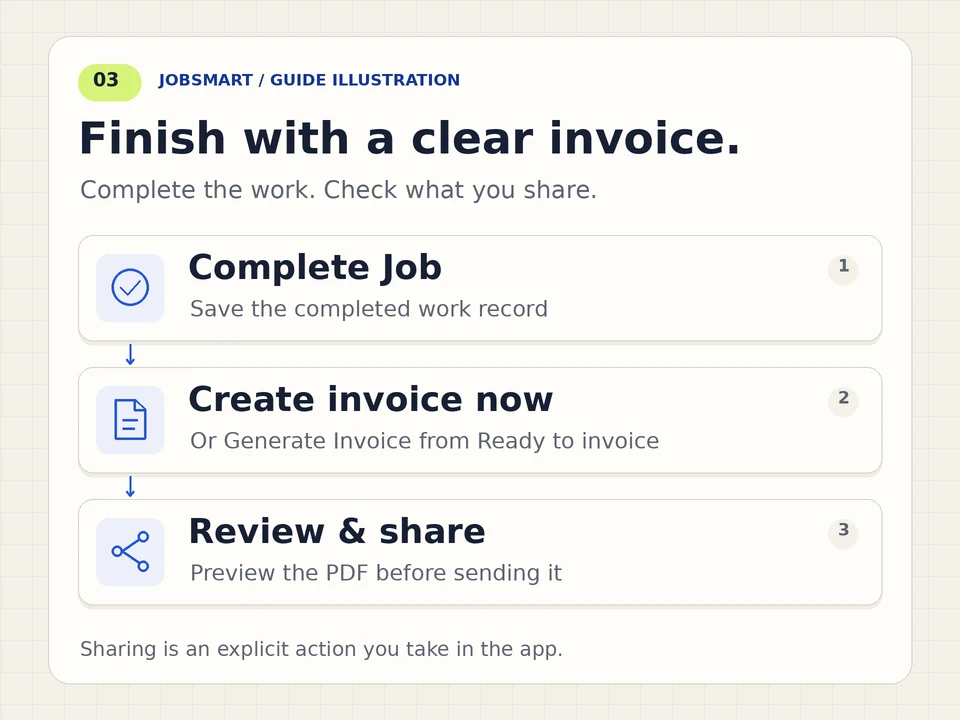
Motion is off by default. Play only if you want to watch.
Read the diagram
Complete the work and save its job report. Generate the invoice, preview the details, and share it when ready. Record payments received outside JobSmart separately.
Complete the work and save its job report. Generate the invoice, preview the details, and share it when ready. Record payments received outside JobSmart separately.
Download work & invoice GIF (animated)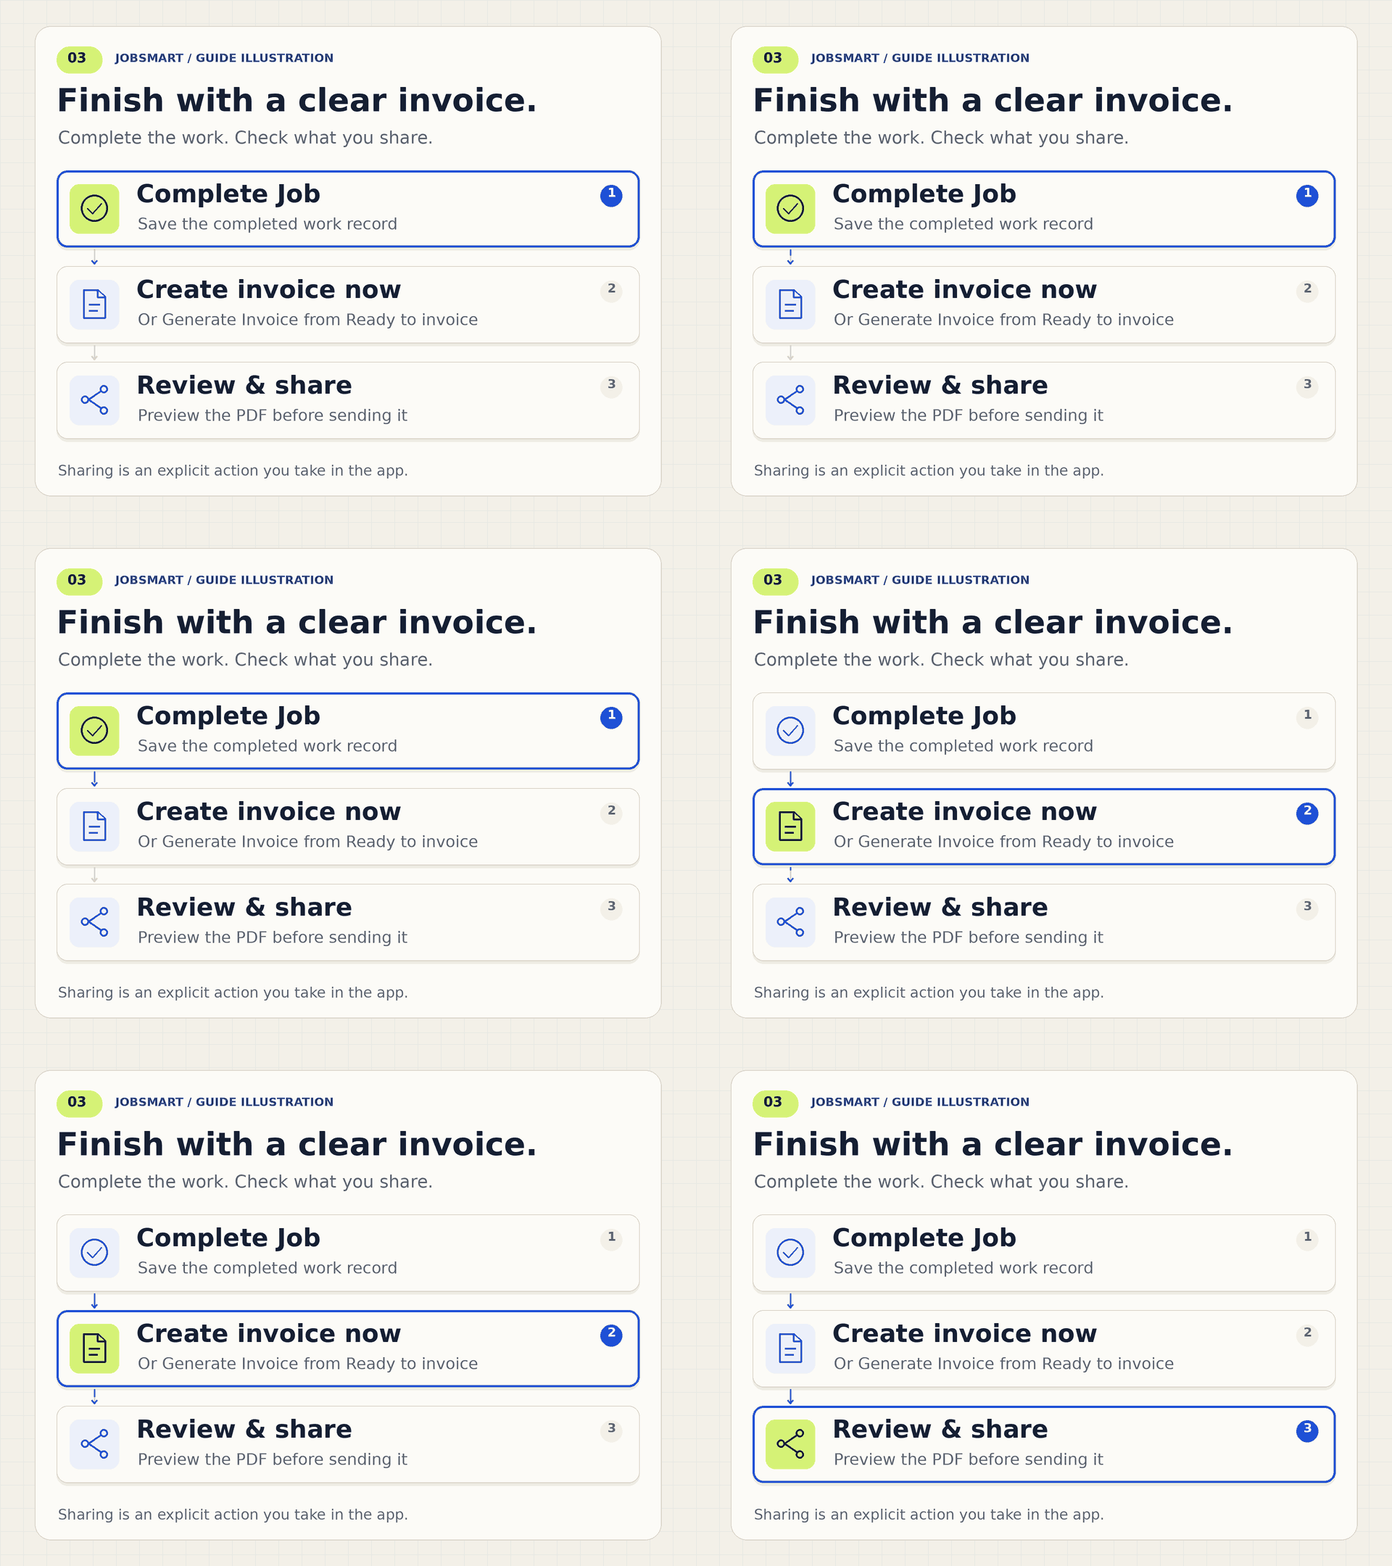
JobSmart does not process customer payments. Record payment only after you receive it through your own payment method.
Request payment
Make it easy to pay you.
A payment request gives the customer your receiving instructions. Sending it, opening it or scanning a QR does not mark the invoice paid.
Review the request
Choose Request payment and check the method, recipient, amount and reference. Use a compatible receiving method for this invoice.
Show or share the instructions
Show the payment QR in person, or use Share QR image or Share request where available. For a customer using the same phone, offer a supported link or readable copied details instead of relying on scanning that phone’s screen.
Let the customer pay externally
The customer reviews the recipient and amount in their own bank or payment service and confirms payment there. JobSmart does not move the money.
Invoices → your invoice → Request payment
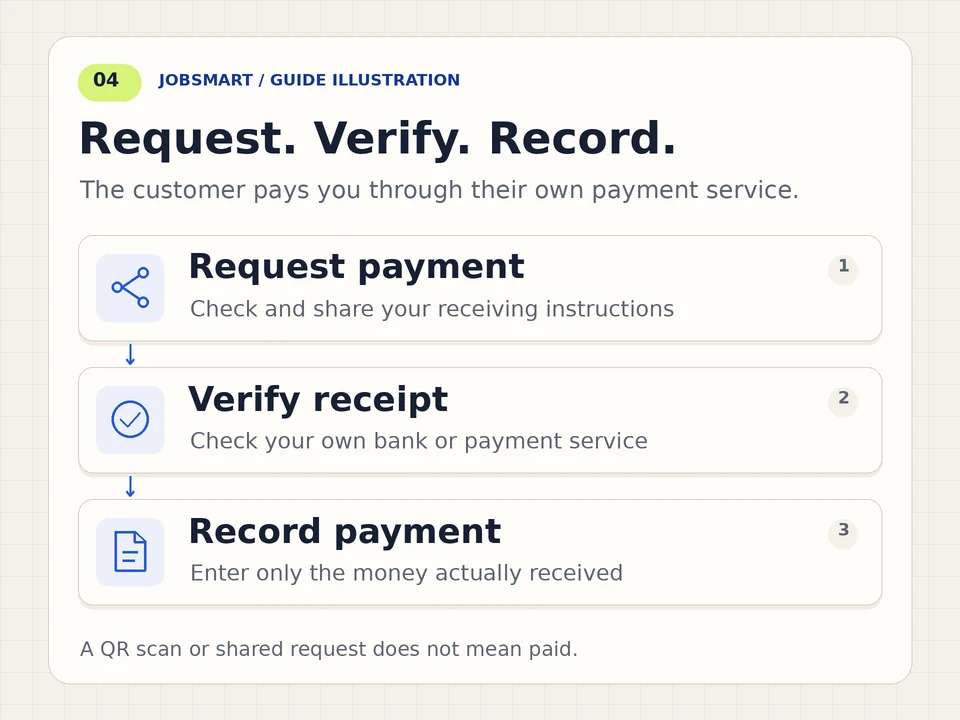
Motion is off by default. Play only if you want to watch.
Read the diagram
Configure receiving details, then open the invoice and Request payment. Share the checked instructions. The customer pays through their own payment service. Verify receipt yourself, then Record payment in JobSmart.
Configure receiving details, then open the invoice and Request payment. Share the checked instructions. The customer pays through their own payment service. Verify receipt yourself, then Record payment in JobSmart.
Download request payment GIF (animated)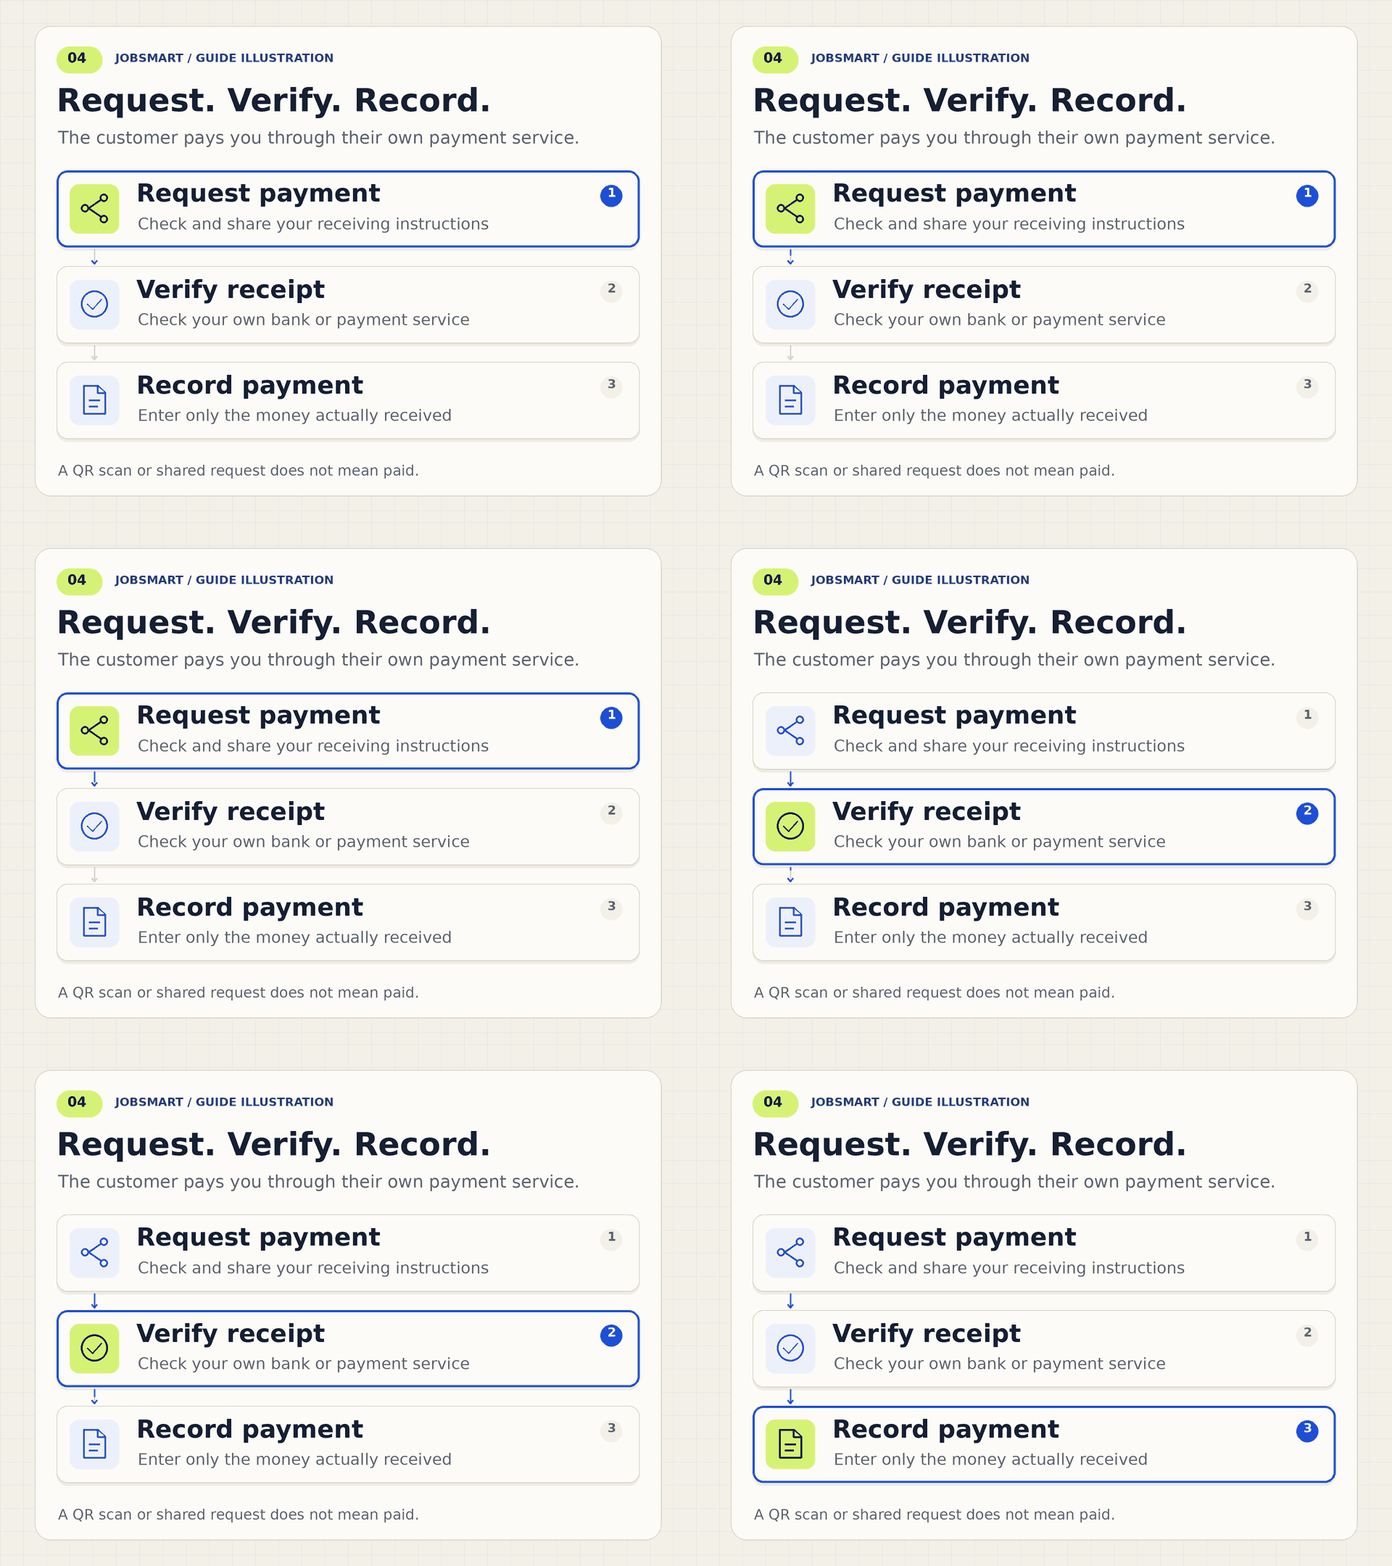
The booking QR opens your work-request form. A payment QR contains receiving instructions for an invoice. Neither a scan nor a shared request proves receipt.
Record payment
Confirm receipt, then record it.
Keep the invoice’s payment record aligned with what you actually received.
Verify the money arrived
Check your own bank or payment service, or the cash or card receipt. A customer’s scan or payment-request view is not confirmation of receipt.
Confirm and record receipt
Choose Record payment, check the displayed amount, and confirm the method, received date and optional reference or notes. Record the payment only when the displayed amount has arrived; do not use this action to mark a partial receipt as fully paid.
Invoices → your invoice → Record payment
Request payment and Record payment are separate actions. JobSmart does not automatically reconcile your bank account.
Screens are sanitized examples from JobSmart; they do not show a customer account. Reading this guide does not complete setup or change your workspace.